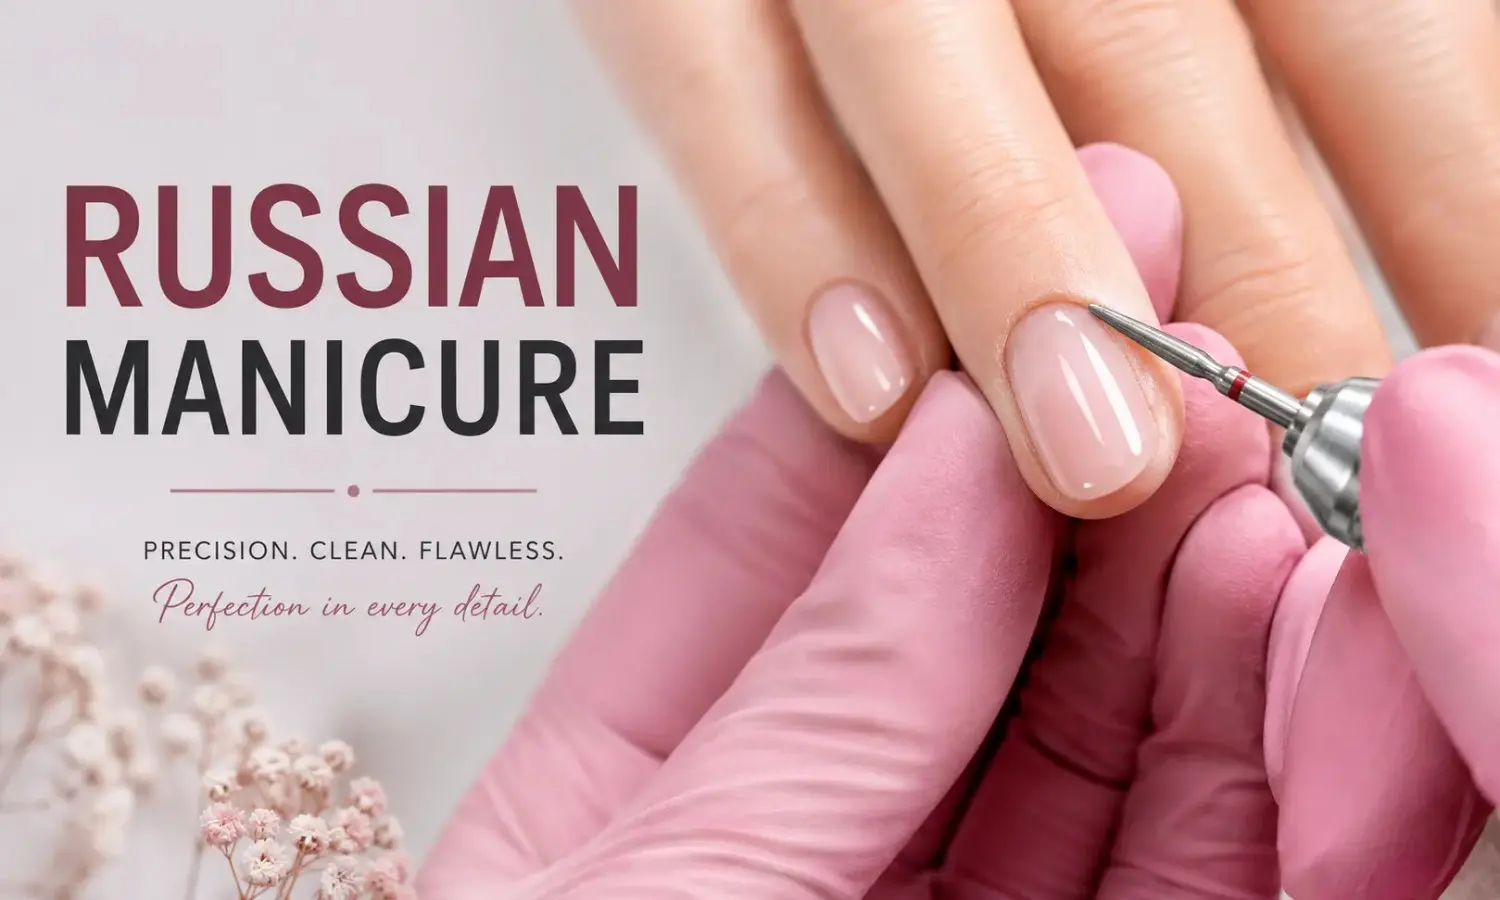
Russian Manicure Explained: Technique, Tools, Safety and Why the Results Are Different
Nail polish lifting at the cuticle within a week is not bad luck. It is a preparation problem — and one with a specific, technical solution.
The Russian manicure addresses that problem at its root. Not by using better polish. Not by adding more base coat. By removing the actual reason lifting happens in the first place: dead cuticle tissue sitting on the nail plate where product bonds to skin instead of keratin.
Here is a thorough, honest look at how this technique works, what it requires, and whether it belongs in your nail care routine.
The Fundamental Difference: Water Out, Precision In
Conventional nail services rely on soaking. Warm water softens the cuticle, making it easier to push back or clip. This step feels like thorough preparation — and for a polish-only manicure lasting a few days, it is adequate.
For gel or hard gel intended to last three or four weeks, soaking creates a hidden problem. Skin tissue absorbs water during the soak. As that moisture evaporates over the following hours, the skin contracts — and as it pulls back, it carries the freshly applied product with it. That mechanical tension at the cuticle edge is where the first lifting begins.
Keeping the nail completely dry throughout the entire service prevents this sequence from starting. Dry skin sits exactly where it naturally lives. Its true boundary with the nail plate is visible and workable. A technician using precision electric-file tools on dry tissue can remove every trace of dead cuticle without the nail plate state changing during or after the process.
Step-by-Step: What Happens During the Appointment
Understanding the sequence helps set realistic expectations about timing, sensation, and what each phase accomplishes.
Dry nail assessment and old product removal The appointment begins with completely bare, dry nails. If gel or product is present from a previous service, the technician removes it using the electric file rather than acetone soaking. Introducing acetone at this stage would compromise the dry environment the technique depends on.
Initial cuticle separation Using a narrow-tipped drill bit — typically needle or flame-shaped — the technician works along the base of the nail plate where dead cuticle attaches. The motion is deliberate and slow, separating the dead layer from the surface below it. This phase requires the most skill because the margin between dead tissue and living skin is measured in fractions of a millimeter.
Dead tissue removal from the nail plate Once the dead layer is lifted away from the plate, the technician removes it. When performed correctly, it releases in a clean, ribbon-like strip. The nail plate surface underneath is bare, smooth, and undisturbed. No cutting occurs at this stage — the sensation throughout is mild vibration against tissue that contains no active nerve endings.
Sidewall refinement The narrow channels running along both sides of the nail — the sidewalls — accumulate dead skin that standard manicures rarely address thoroughly. A cone-shaped bit works through these channels to clear the tissue. Sidewall buildup is one of the most common points where gel lifting originates, so technicians give this area dedicated attention.
Surface preparation A fine-grit finishing bit smooths the nail plate across its full surface, removing microscopic traces of skin and natural oil. This step creates the adhesion-ready surface that product requires.
Product application Polish, gel polish, or hard gel overlay goes on only after the plate has been confirmed clean and dry at every point. The product cures against keratin alone.
The Drill Bits: Why Each Shape Exists
The electric file is the delivery mechanism. The bits are where the actual precision lives. Professional technicians use medical-grade diamond-coated bits — diamond particles grip dead tissue without slipping laterally onto surrounding healthy skin the way metal bits can.
| Bit Shape | What It Does |
| Needle | Accesses tight cuticle corners and the narrow space where plate meets proximal fold |
| Flame | Separates and lifts thicker or more stubborn cuticle tissue from the plate surface |
| Cone | Clears dead skin from sidewall channels along both nail edges |
| Safety/barrel | Smooth-tipped design reduces the risk of accidental contact with the nail fold during broader cleaning passes |
| Fine buffer | Final smoothing pass across the plate surface before product goes on |
Each bit used during a session must be sterilized between every client in an autoclave — the same pressurized steam equipment hospitals use for surgical instruments. Any salon unable to confirm this practice should not be performing this service.
Why Longevity Improves So Dramatically
Gel lifting has a single primary cause: product adhering to skin rather than nail plate.
Skin is a living, active surface. It produces sebum, sheds dead cells continuously, and moves with the natural expansion and contraction of the tissue beneath. When gel bonds to skin, it will eventually separate from that surface as the skin does what living skin does. This is not a flaw in the gel formula — it is physics.
The nail plate behaves completely differently. Keratin is stable. It does not shed cells or produce oil. A gel bond made directly to a clean keratin surface holds until the nail grows out far enough to create a natural gap at the base.
Removing all cuticle tissue from the nail plate removes the variable that causes early lifting. Clients who previously replaced their gel every ten days due to lifting often find the same application lasting three full weeks without any separation.
The Visual Result and Why It Reads Differently
Function aside, the finish produced by Russian manicure prep looks noticeably different from a standard service.
When dead cuticle tissue sits on the nail plate, the technician applying color must stay slightly back from it to avoid painting onto skin. This creates a visible gap between the start of the color and the edge of the skin — a gap that makes nails appear shorter and the application look slightly unrefined.
With the plate fully cleared, color goes right to the precise edge where skin meets nail. The transition is seamless. There is no thickened ridge where polish built up over unremoved tissue. The nail bed appears longer because the color genuinely starts further back toward the matrix.
For clients who feel their nails look short or square regardless of length, this change in visual baseline is often the most immediate result they notice.
The Risk Side of This Technique — Stated Plainly
Anyone describing Russian manicure as risk-free is not being accurate.
The proximal nail fold — the skin immediately behind your cuticle — serves a functional role beyond appearance. It acts as a sealed barrier preventing external pathogens from reaching the nail matrix, which is the tissue responsible for generating new nail growth. Damage to this barrier creates a pathway for bacterial or fungal infection. Paronychia, an infection of the nail fold, can develop from repeated damage to this area and requires medical treatment when it occurs.
An electric file bit spinning at several thousand rotations per minute can breach the living skin in less than a second if the technician misjudges depth or angle. The consequences range from a small cut that heals normally to matrix scarring that permanently affects how the nail grows.
This is the clearest indication that a session is going wrong:
Anything beyond mild vibration sensation during the cuticle work phase is a signal to stop and speak up.Contact with living tissue is indicated by any blood, heat from bit friction, and sharp or stinging pain. A well-trained technician stops immediately when a client indicates discomfort, reassesses their technique, and adjusts. A technician who dismisses the signal or tells you to tolerate it should not continue.
Russian Manicure vs. Standard Manicure: A Direct Comparison
| Consideration | Russian Manicure | Standard Manicure |
| Starting condition of nails | Completely dry throughout | Water soak before cuticle work |
| How cuticle is addressed | Full dead tissue removal from plate using e-file | Surface trimming or pushback only |
| Typical product wear time | Three to four weeks without lifting | One to two weeks before chipping or separation |
| Edge appearance after application | Color meets skin seamlessly, no visible gap | Slight gap common between color and cuticle edge |
| Time required per appointment | 90 to 150 minutes | 30 to 60 minutes |
| Technical training required | Advanced e-file certification beyond standard licensing | Standard nail technician license |
| Risk when performed incorrectly | Nail fold damage, infection risk, potential matrix scarring | Minimal |
| Typical price range | Higher, reflecting training and appointment length | Standard service pricing |
Finding Someone Qualified to Perform It
The quality difference between a trained Russian manicure specialist and someone who recently added an e-file to their service menu is significant enough that how you select a technician matter more than in nearly every other nail salon.
Questions worth asking before booking:
Ask where their e-file training took place and how many supervised practice hours they completed before working on real clients. Credible training programs require students to work on artificial nail forms before any live hands — technicians who self-taught from video content have not had this foundation.
Request to see portfolio photographs specifically showing the cuticle area immediately after the service — not just the finished colored nail. Healthy results look smooth and slightly defined. Red, raw, swollen, or visibly irritated skin around the nail fold indicates a technique problem.
Ask how drill bits are sterilized between clients. Autoclave sterilization is the correct answer. Liquid disinfectant solution alone does not achieve the same standard.
Ask directly what their process is if a client experiences pain. The answer you want is: they stop, reassess, and adjust. Any other answer is a concern.
Who Gets Meaningful Results From This Service
Clients with fast-growing cuticles that cover significant nail plate surface are among those who notice the biggest difference. Their standard manicures lift within days because new tissue forms quickly over fresh product — Russian manicure preparation removes that tissue thoroughly enough that regrowth takes longer to reach a point where it affects wear.
Hard gel and BIAB overlay clients benefit considerably because those products require a more thoroughly clean plate to cure and adhere correctly than thin gel polish does.
Anyone with a pattern of gel lifting despite trying multiple salons and brands is likely experiencing a preparation problem, not a product problem — this technique addresses the preparation directly.
Clients with very fine, sensitive skin around the nail fold, or those who feel anxious about electric file tools near their skin, are better served starting with a skilled dry manicure using traditional nippers. A good technician will tell you honestly during a consultation which approach suits your nail anatomy.
Aftercare That Protects Your Results
The area around the nail fold needs consistent hydration after the appointment. Dead cuticle tissue, despite being technically dead, does contribute to moisture retention in the surrounding area — once it is removed, the skin needs supplemental oil to stay healthy and comfortable.
Apply cuticle oil with jojoba or vitamin E base several times daily. Both compounds absorb readily into the thin skin around the nail without leaving a greasy film. For the first 24 hours after the appointment, keep hands out of prolonged water exposure while the nail fold settles. Use gloves for household tasks involving bleach, dish soap, or cleaning chemicals — these strip the natural oils that protect both the skin and the gel bond.
Booking the next appointment three to four weeks out prevents the product from growing to a length where its weight begins stressing the nail plate.
Common Questions Answered Directly
Should there be any pain during the service?
No. The cuticle tissue being worked on during a Russian manicure carries no active nerve supply — sensation should be limited to the vibration of the bit. Pain, stinging, heat, or burning at any point indicates contact with living tissue. Stop the technician and address it immediately.
Why does the appointment take so long?
The cuticle preparation phase — done properly — takes significantly longer than in any standard service. Rushing the removal increases both the injury risk and the chance that residual dead tissue compromises adhesion. The time investment is what produces the three-to-four-week wear result.
Is home practice ever appropriate?
No. The skill margin required to distinguish dead from living tissue while operating a tool spinning at thousands of RPM takes supervised training to develop. Home e-file kits do not include the training component, and the consequences of errors — including permanent matrix damage — are not reversible.
Why is the price higher?
Advanced training programs, medical-grade drill bits with limited lifespans, autoclave equipment and its maintenance, and significantly longer appointment times all contribute to the cost. These are not inflated margins — they are the operational requirements of performing the service to a safe standard.
How frequently should appointments be scheduled?
Every three to four weeks for most clients. The nail growing out creates a visible gap at the base before the product wears through — that gap is typically what triggers the next visit rather than any failure of the manicure itself.
Can nails that are already damaged or thin receive this service?
Thin nails from previous product removal can often be treated — a skilled technician may apply a strengthening overlay directly over the Russian manicure prep to add structure while the nail recovers. Active infection, open skin, or significant inflammation around the nail fold are contraindications. The tissue needs to be fully healed before the service is appropriate.